How to Generate Documents with React - A Step-by-Step Guide
Tuesday, February 20, 2024
Why Use React to Generate Documents?
The React Ecosystem
React is the leading javascript framework for building user interfaces. It is widely used, has a large community and package ecosystem. While React focuses on interactive interfaces, it has recently expanded to server-side rendering and static site generation. While this is not its primary use case, the JSX templating syntax and the component-based architecture make it very well suited for static components, such as websites or documents.
Advantages of Using React for Document Generation
Using React to generate documents has several advantages:
- Reusability: React components can be reused across different documents, making it easy to maintain a consistent look and feel.
- Customization: React components can be easily customized with props, making it easy to create different versions of the same document.
- Data-driven: React components can be data-driven, making it easy to generate documents from structured data.
How Does it Work?
The underlying principle of using React to generate documents is that React components can be rendered to HTML. This HTML can then be converted to a PDF or other document format using various methods, with respective trade-offs in terms of performance, flexibility and complexity.
Writing Your First Document with React
In this simple step by step guide, we will create a simple receipt using the library react-print-pdf. This library is created and maintained by Fileforge, and is designed to make it easy to generate PDFs from React components.
Local Environment Setup
For this tutorial, we will be using a Next.js project. You can use any other React project, but Next.js is a great choice for server-side rendering and static site generation.
Run these commands to get you started. They will create a new Next.js project and install the necessary dependencies:
| 1 | npx create-next-app@14 pdf-document-generation --ts --tailwind --app --eslint --no-src-dir --import-alias="@/*" |
| 2 | cd pdf-document-generation |
| 3 | npm install |
When prompted, select to use TypeScript and Tailwind CSS.
Now that our project is set up, we can start creating our receipt. We will start the development server to see our changes live:
| 1 | npm run dev |
Let’s also open this project in your favorite code editor. If you use VSCode, you can just run code . in the terminal.
Create an API Route
Next.js handles routes by creating a route.ts file in the app directory. The folders and subfolders in the app directory are automatically mapped to routes. We will create a new file app/api/receipt/routets to handle the receipt generation.
| 1 | import { NextApiRequest } from "next"; |
| 2 | import { NextResponse } from "next/server"; |
| 3 | |
| 4 | export const GET = async (req: NextApiRequest) => { |
| 5 | const receipt = { |
| 6 | id: 1, |
| 7 | date: "2021-01-01", |
| 8 | total: 100, |
| 9 | }; |
| 10 | |
| 11 | return NextResponse.json({ receipt }); |
| 12 | }; |
Create the Receipt Component
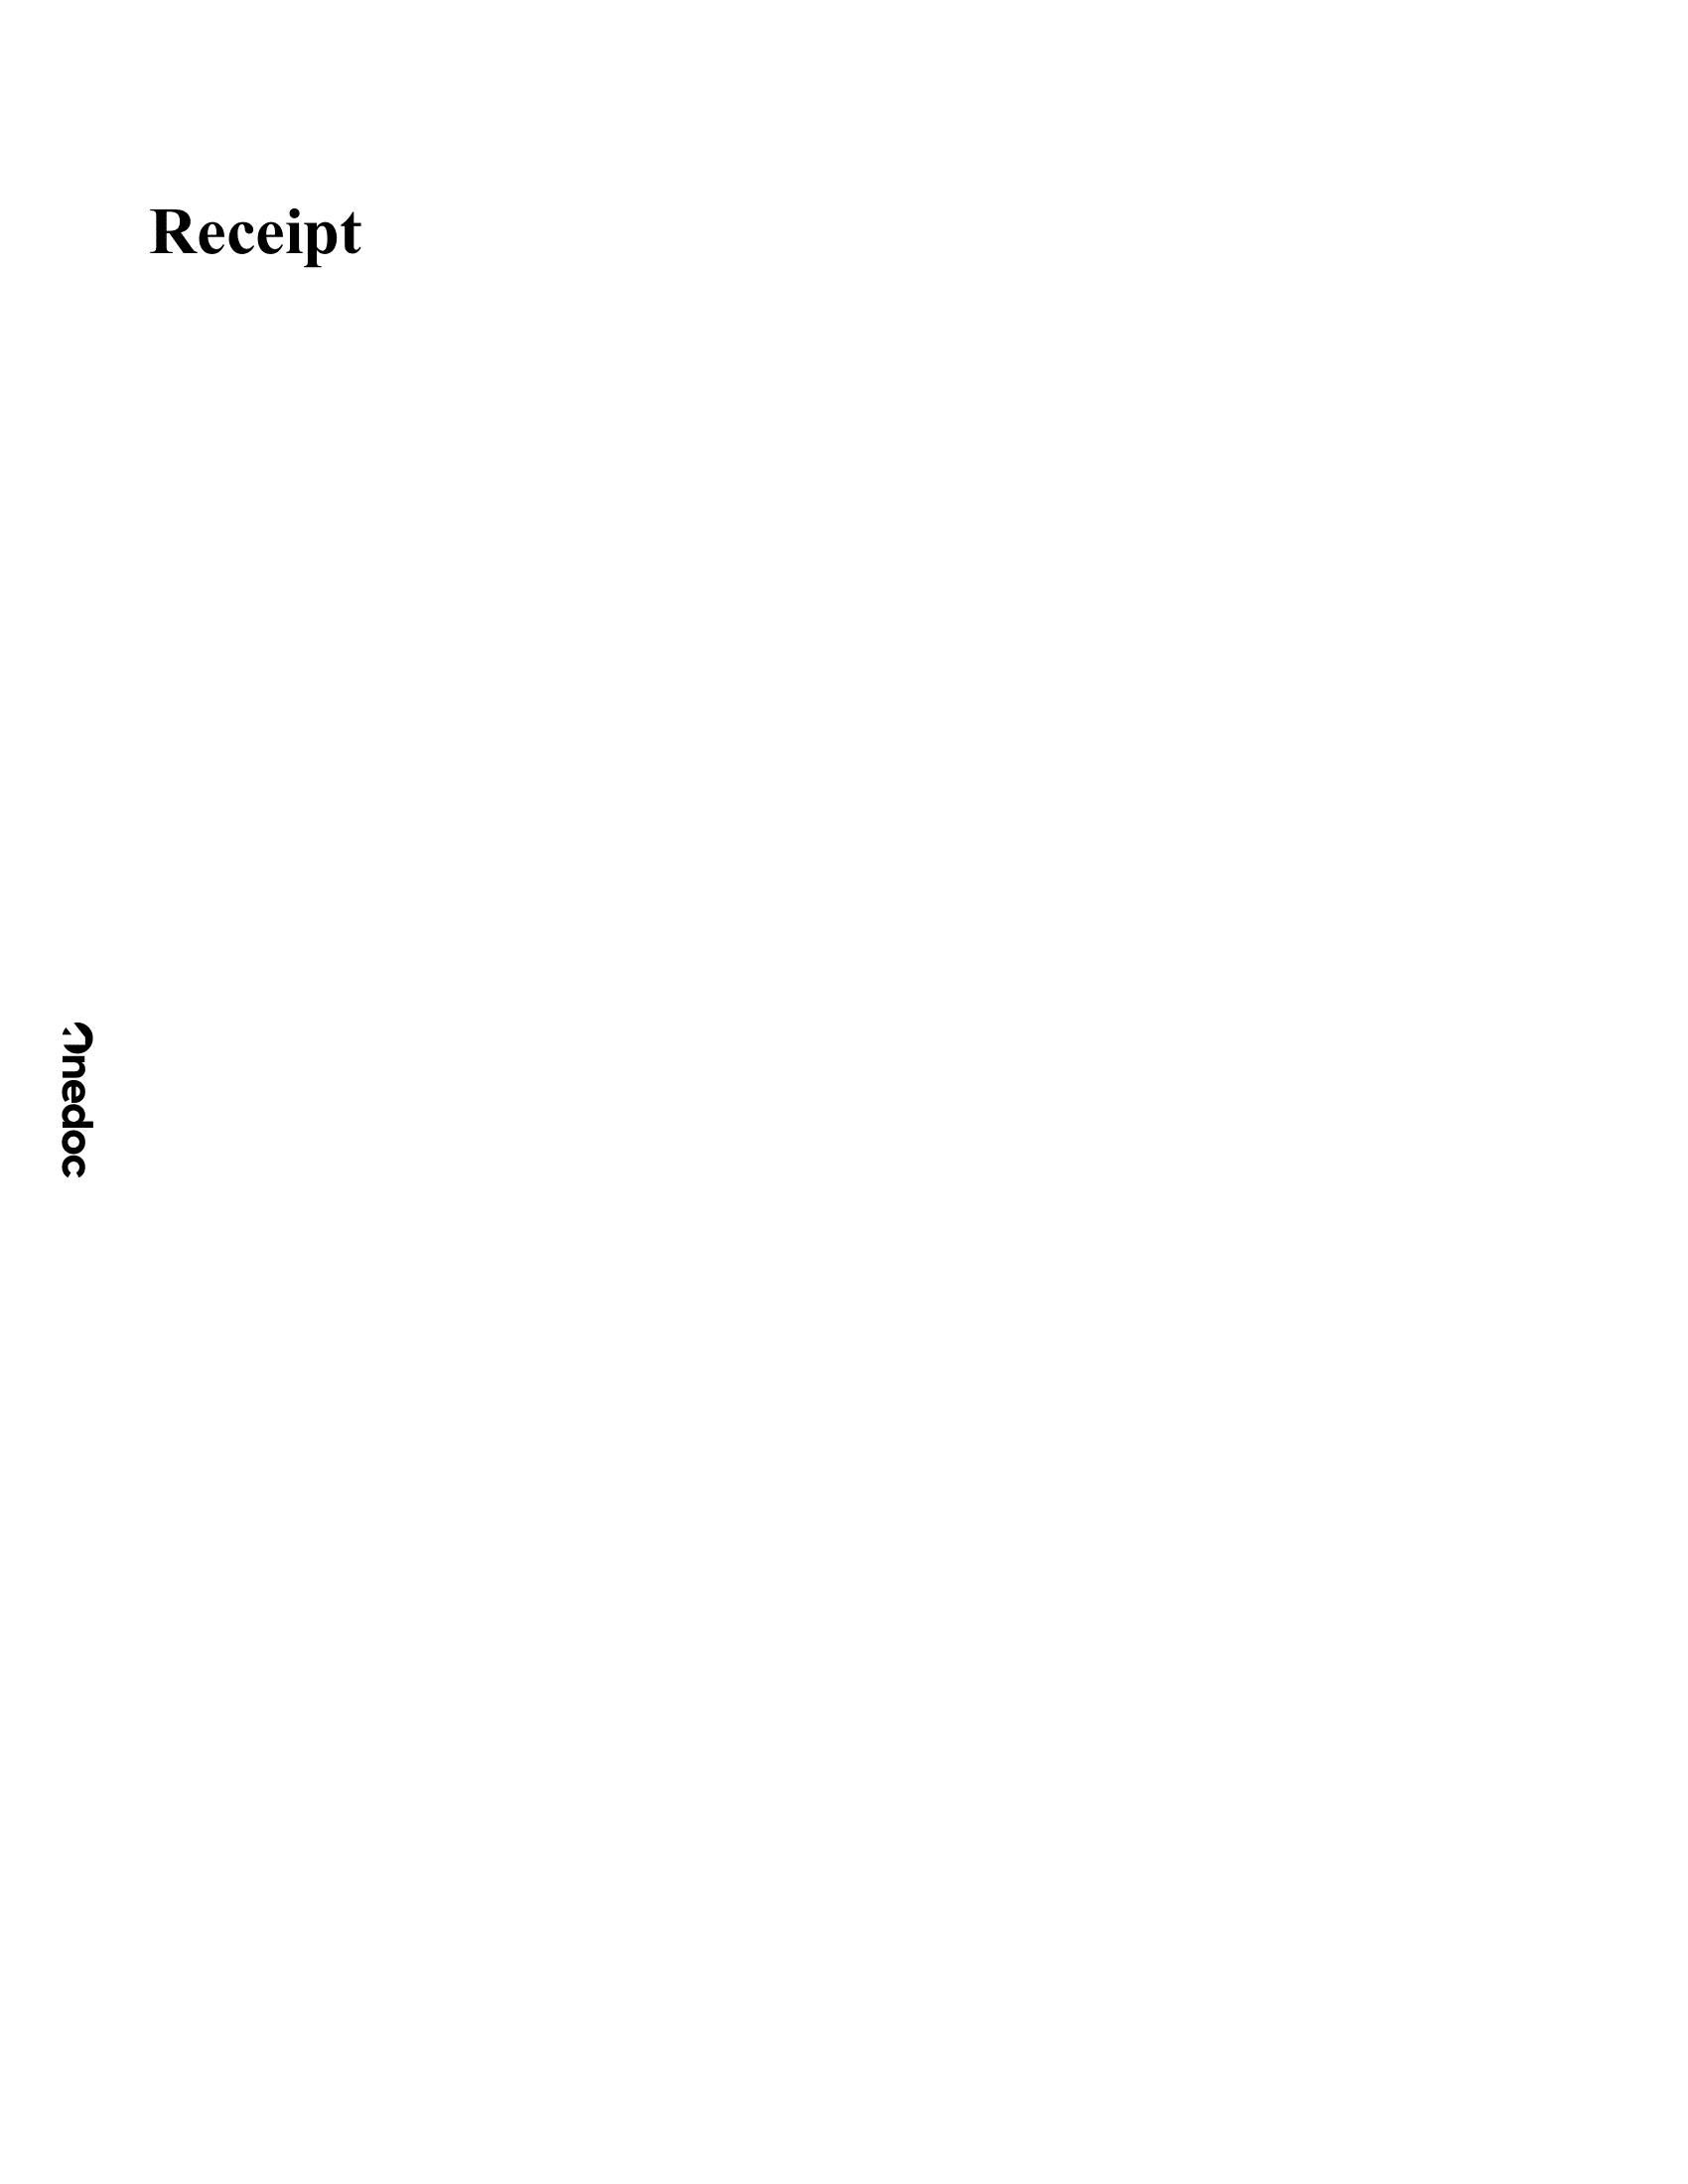
With react-print-pdf we can easily compile React components to PDF. Let’s create a new file called app/documents/Receipt.tsx:
| 1 | export const Receipt = () => { |
| 2 | return <h1>Receipt</h1>; |
| 3 | }; |
Install the react-print-pdf Package
react-print-pdf allows several drivers, including Fileforge and PrinceXML. For this tutorial, we will use Fileforge as you can generate unlimited documents with a simple watermark.
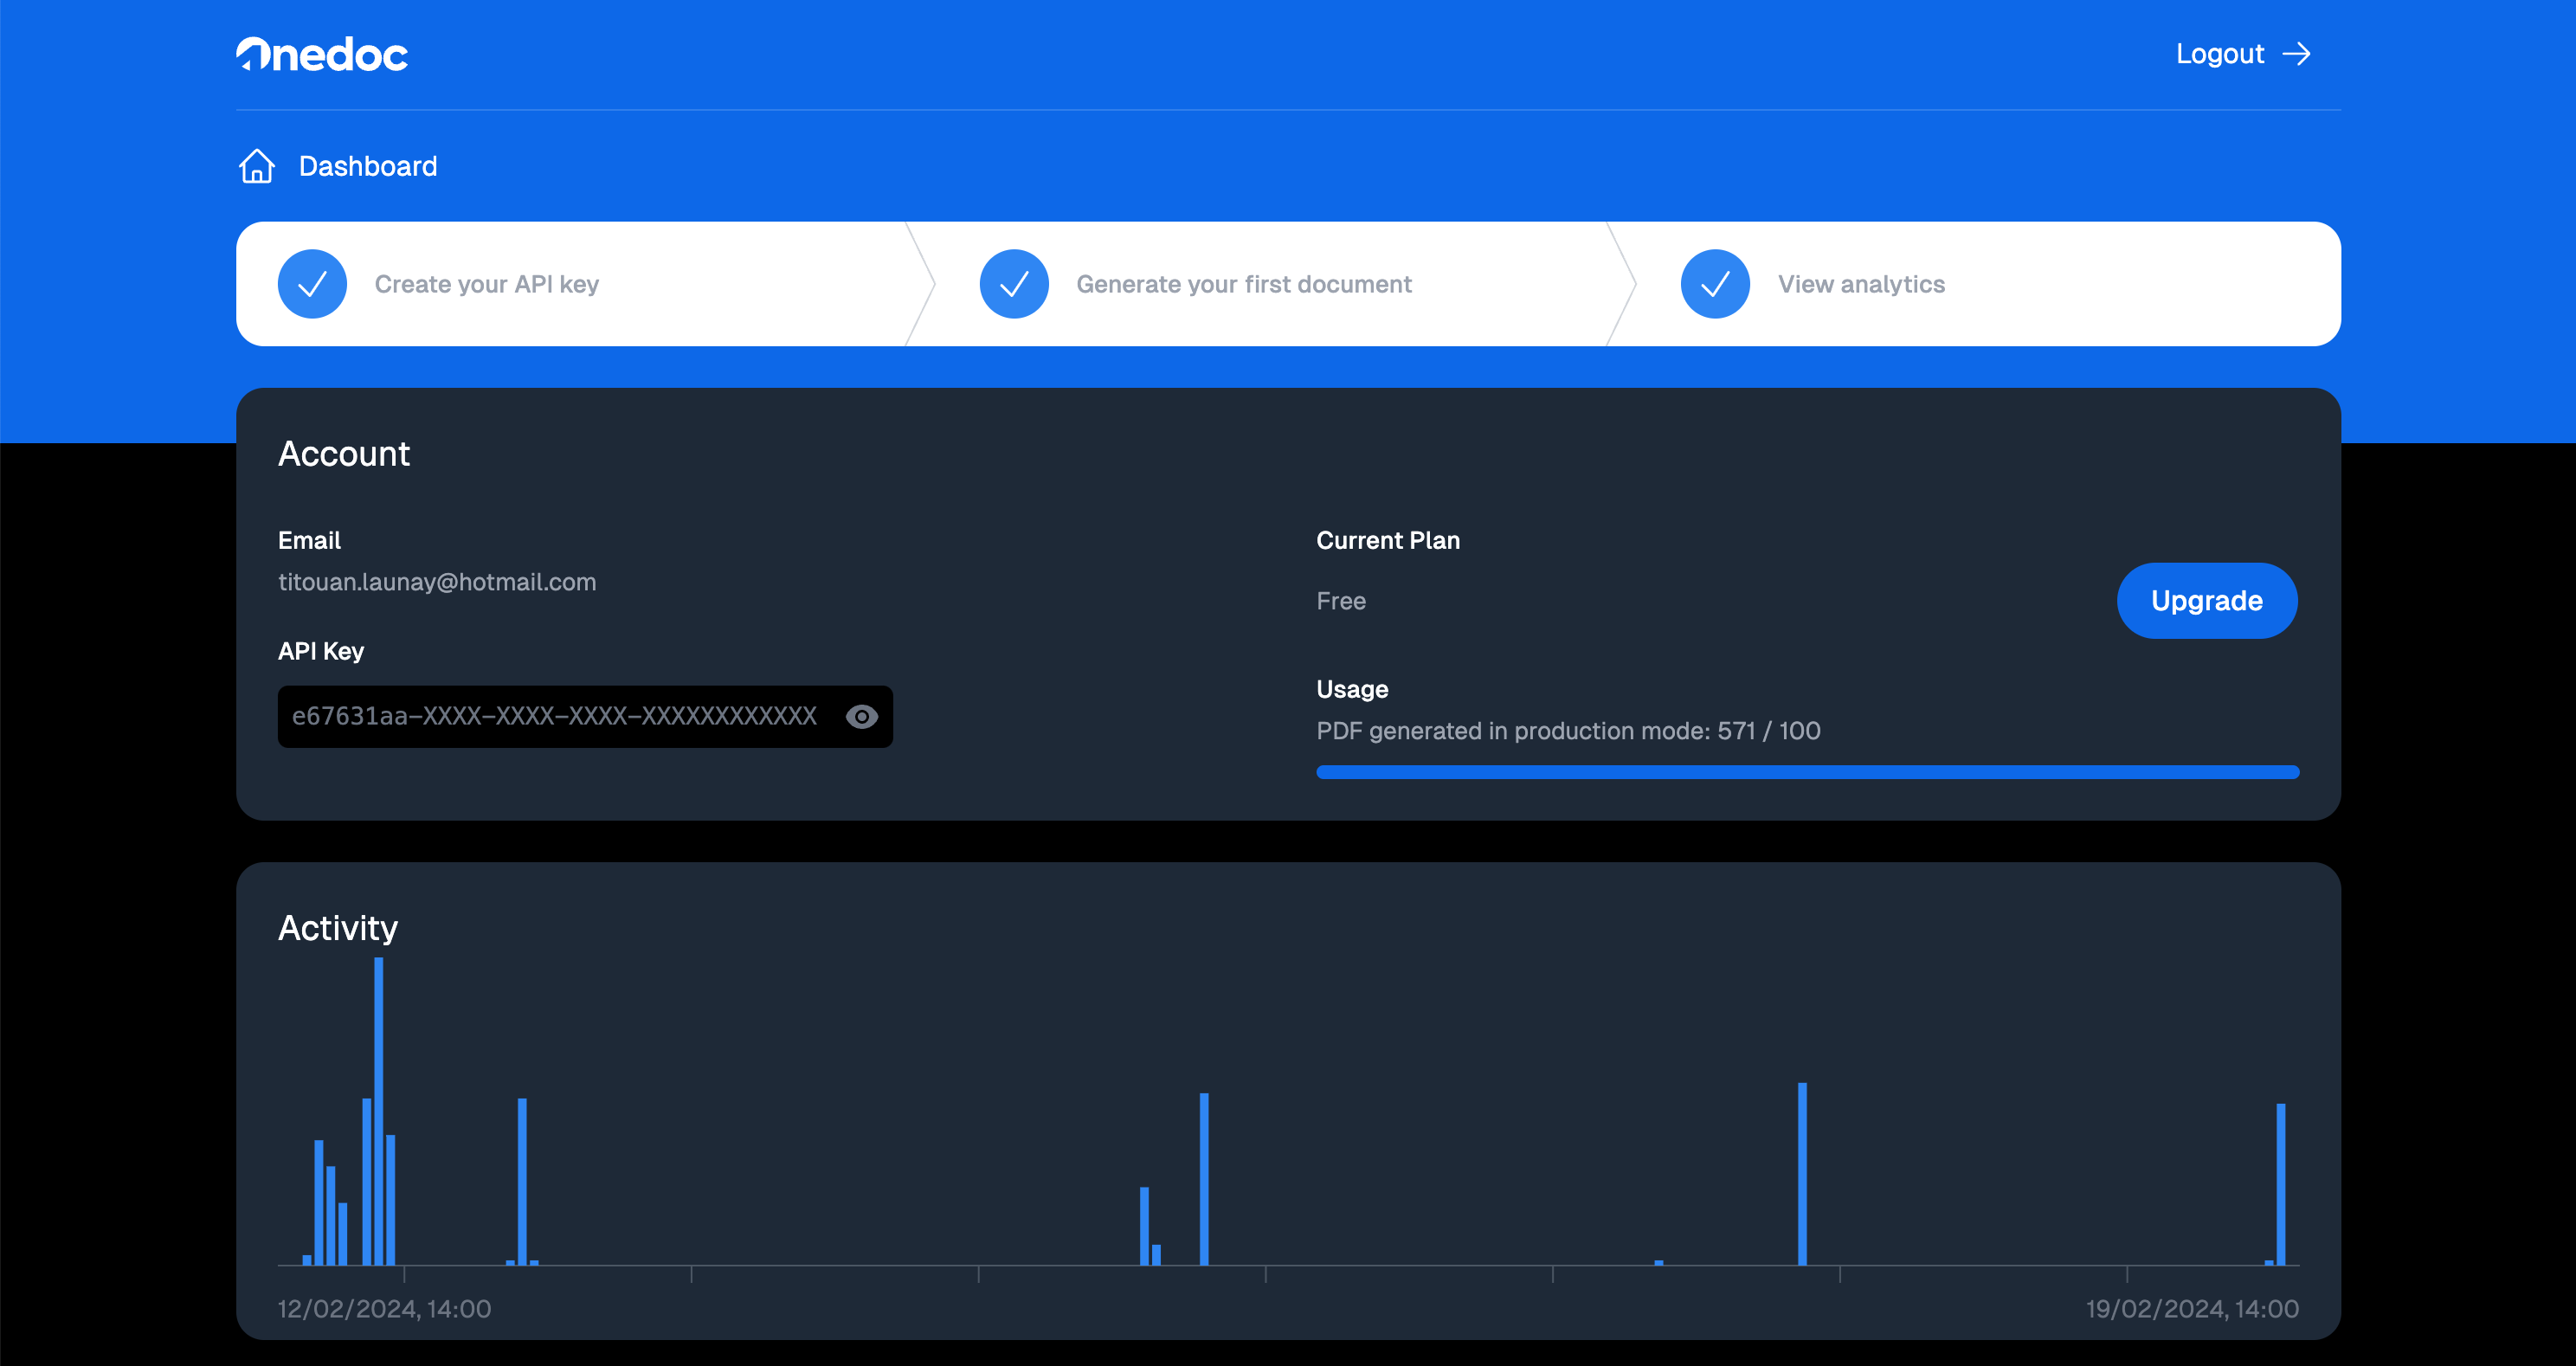
First, you should head to the Fileforge app and create an account. Once you have an account, you will get your API key on your dashboard page.
Once you have your API key, you can add it to your .env file (or create a new one if it doesn’t exist):
| 1 | FILEFORGE_API_KEY=your-api-key |
This document is automatically loaded by Next.js and is available in the process.env object.
Now we can install the react-print-pdf and @fileforge/client packages.
| 1 | npm i -s @fileforge/react-print @fileforge/client |
Generate the PDF
Let’s get back into our API route in app/api/receipt/route.ts and add the required code to build the PDF:
| 1 | import { NextApiRequest } from "next"; |
| 2 | import { NextResponse } from "next/server"; |
| 3 | import { compile } from "@fileforge/react-print"; |
| 4 | import { Receipt } from "@/documents/Receipt"; |
| 5 | import { FileforgeClient } from "@fileforge/client"; |
| 6 | |
| 7 | const fileforge = new FileforgeClient({ |
| 8 | apiKey: process.env.FILEFORGE_API_KEY, |
| 9 | }); |
| 10 | |
| 11 | export const GET = async (req: NextApiRequest) => { |
| 12 | const receipt = { |
| 13 | id: 1, |
| 14 | date: "2021-01-01", |
| 15 | total: 100, |
| 16 | }; |
| 17 | |
| 18 | const { file, error } = await fileforge.render({ |
| 19 | html: await compile(Receipt()), |
| 20 | }); |
| 21 | |
| 22 | if (error) { |
| 23 | return NextResponse.json({ error }, { status: 500 }); |
| 24 | } |
| 25 | |
| 26 | const pdfBuffer = Buffer.from(file); |
| 27 | |
| 28 | // Return the PDF |
| 29 | return new Response(pdfBuffer, { |
| 30 | headers: { |
| 31 | "Content-Type": "application/pdf", |
| 32 | }, |
| 33 | }); |
| 34 | }; |
If you open your web browser and go to http://localhost:3000/api/receipt, you should see a PDF file! Your first document is now generated with React.
Using a Template
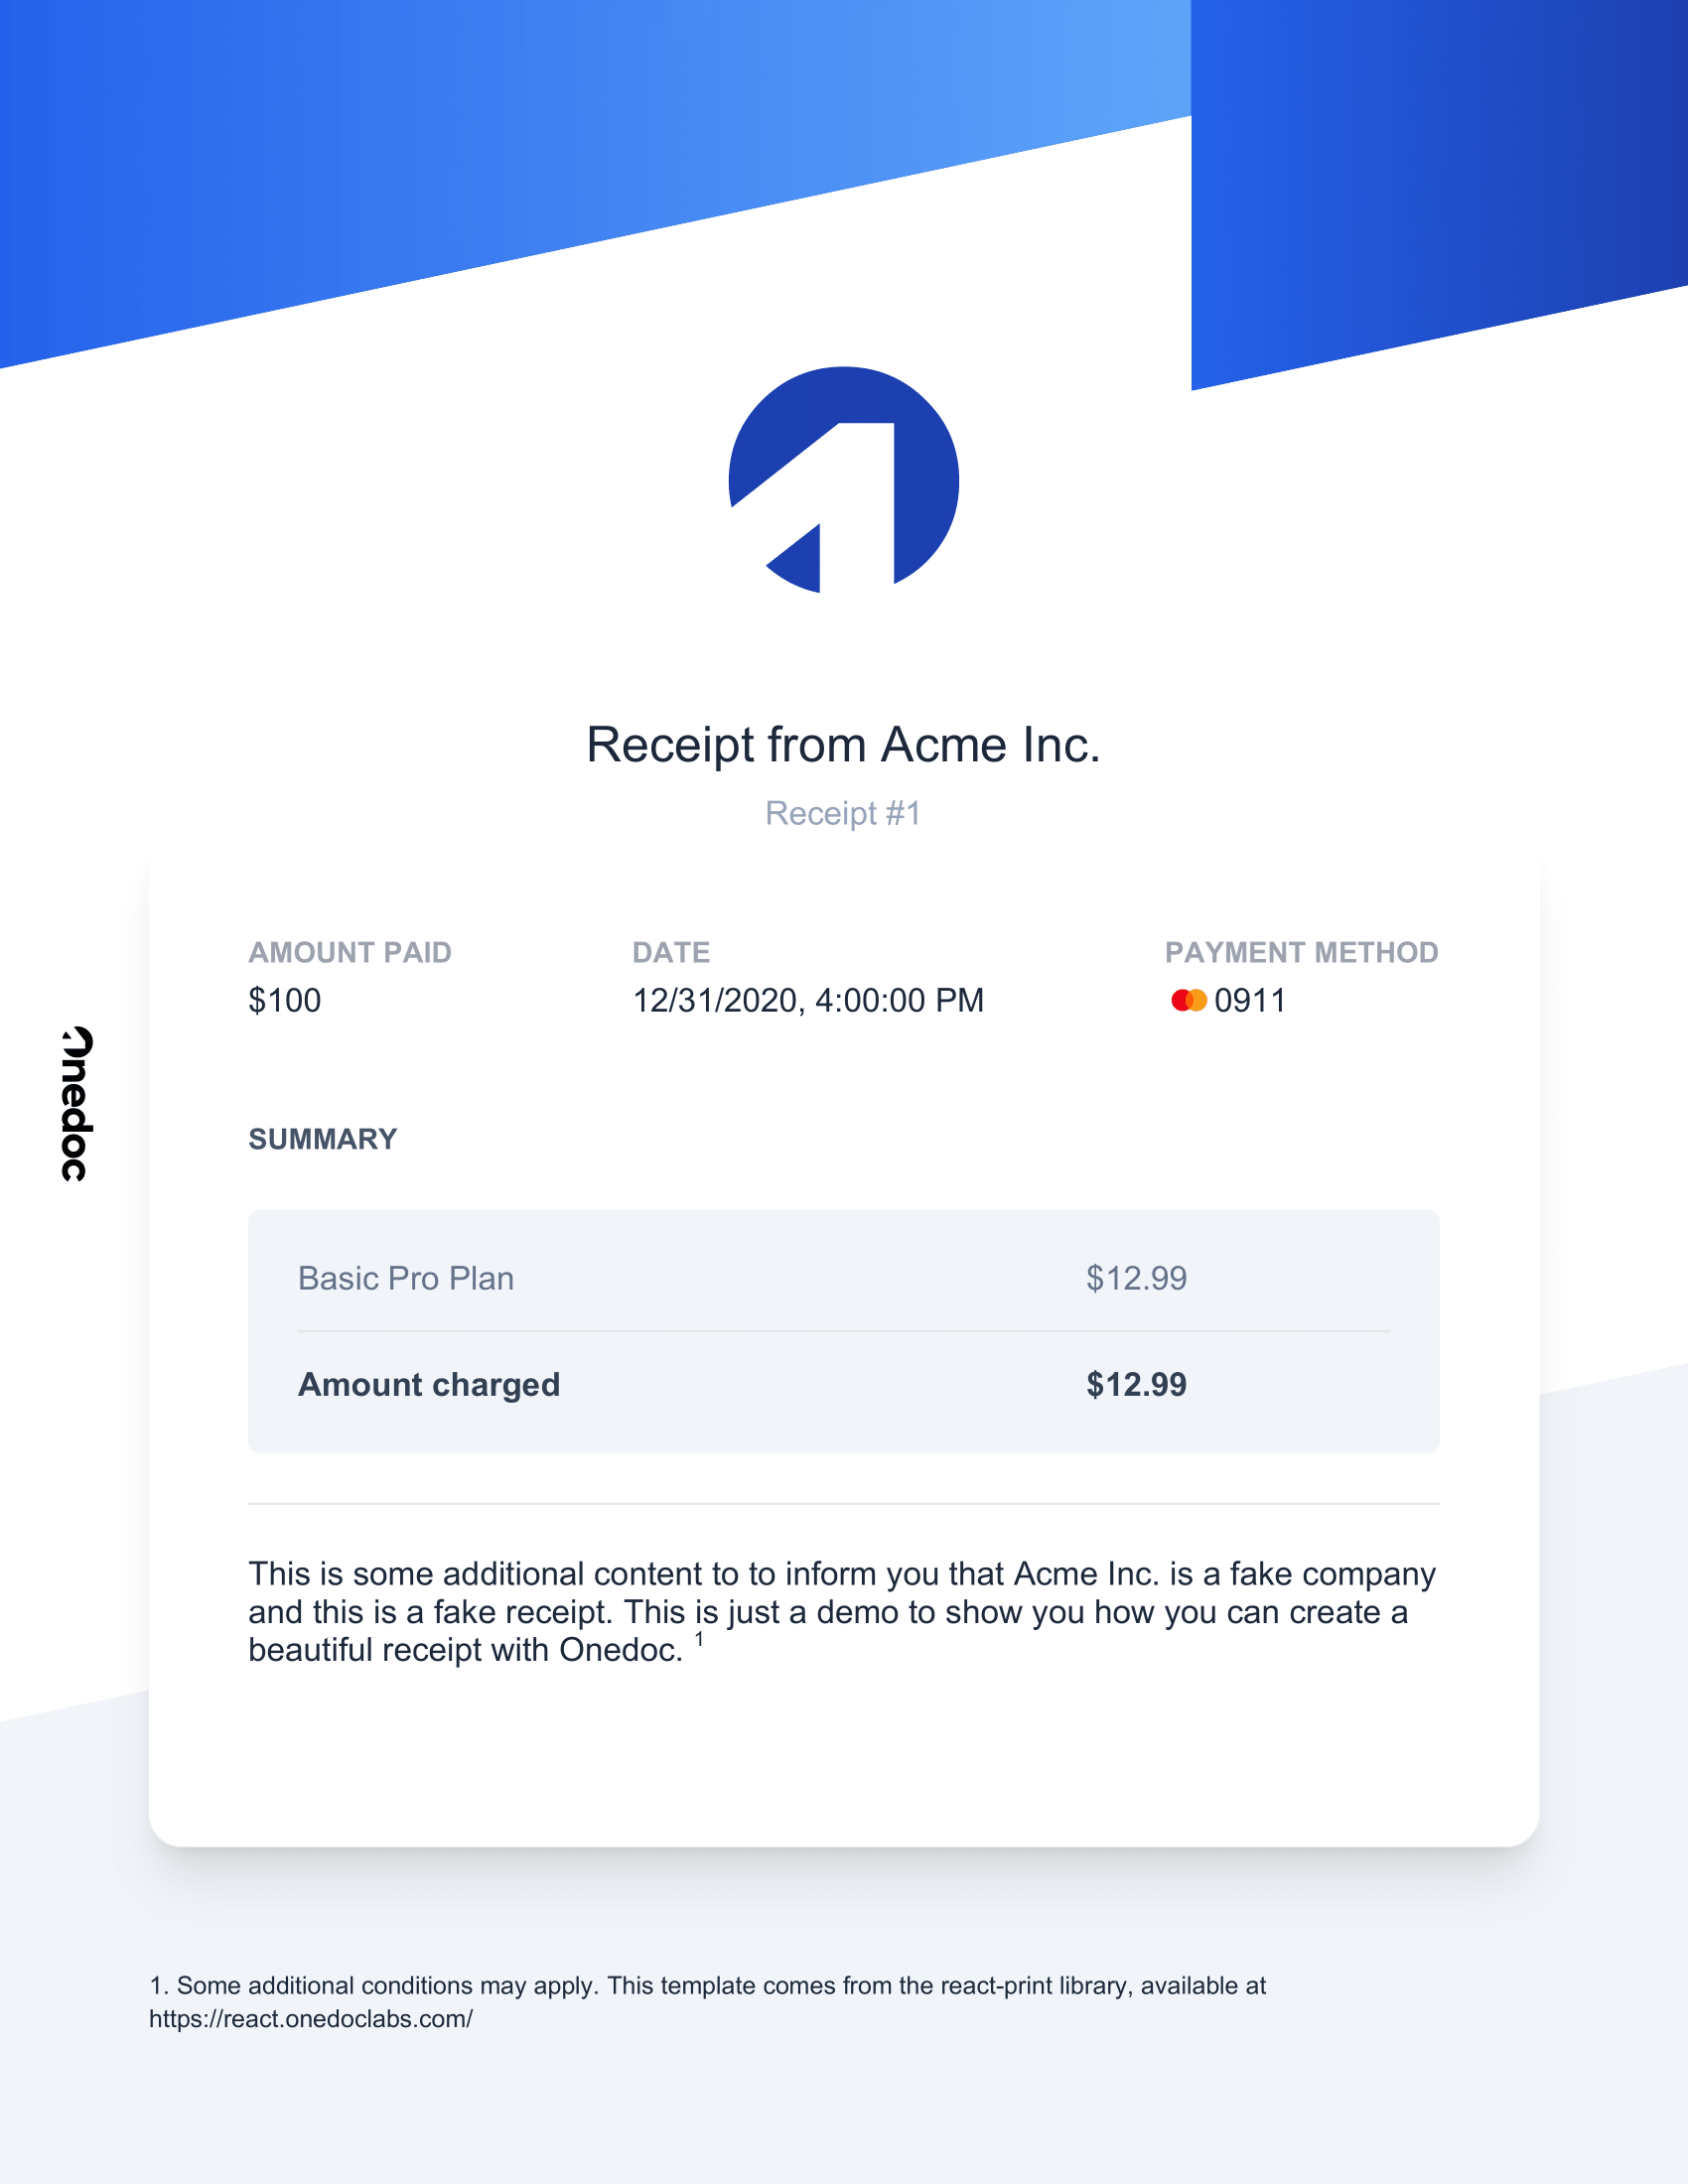
While our document generation is now working, the receipt is very basic. We can use a template to make it look more professional. Let’s head to the example receipt template provided by react-print-pdf.
We can just copy and paste the template in our app/documents/Receipt.tsx file, making sure to add an export call. We can also tweak a few things to adapt it to our React structure.
| 1 | import { Footnote, Tailwind } from "@fileforge/react-print"; |
| 2 | |
| 3 | export const Receipt = ({ |
| 4 | id, |
| 5 | date, |
| 6 | total, |
| 7 | }: { |
| 8 | id: number; |
| 9 | date: string; |
| 10 | total: number; |
| 11 | }) => ( |
| 12 | <Tailwind> |
| 13 | <div className="font-sans"> |
| 14 | <div className="bg-gradient-to-r from-blue-600 to-blue-400 -z-10 absolute -left-[2cm] right-[25vw] -skew-y-12 h-[100vh] bottom-[95vh]" /> |
| 15 | <div className="bg-gradient-to-r from-blue-600 to-blue-800 -z-20 absolute left-[75vw] -right-[2cm] -skew-y-12 h-[100vh] bottom-[90vh]" /> |
| 16 | <div className="bg-slate-100 -rotate-12 -z-10 absolute -left-[200em] -right-[200em] h-[100vh] top-[75vh]" /> |
| 17 | <main className="text-slate-800 pt-24 h-[90vh] flex flex-col"> |
| 18 | <svg |
| 19 | version="1.1" |
| 20 | id="Layer_1" |
| 21 | xmlns="http://www.w3.org/2000/svg" |
| 22 | x="0px" |
| 23 | y="0px" |
| 24 | viewBox="0 0 24 24" |
| 25 | className="mx-auto w-32 mb-12 fill-blue-800" |
| 26 | > |
| 27 | <g> |
| 28 | <path |
| 29 | d="M22.45,12.12c0-2.91-0.99-5.33-3.03-7.34C17.42,2.76,14.96,1.74,12,1.74c-2.93,0-5.4,1.02-7.43,3.05 |
| 30 | C2.56,6.8,1.55,9.26,1.55,12.15c0,0.84,0.11,1.63,0.27,2.37l9.71-7.65h5.01v14.58c1.06-0.5,2.03-1.13,2.91-1.99 |
| 31 | C21.46,17.45,22.45,15.01,22.45,12.12z" |
| 32 | /> |
| 33 | <path d="M4.91,19.78c1.4,1.26,3.03,2.12,4.9,2.48v-6.32L4.91,19.78z" /> |
| 34 | </g> |
| 35 | </svg> |
| 36 | <h1 className="text-center text-2xl text-slate-800"> |
| 37 | Receipt from Acme Inc. |
| 38 | </h1> |
| 39 | <p className="pt-2 text-slate-400 text-center">Receipt #{id}</p> |
| 40 | <div className="p-12 flex-grow bg-white rounded-2xl rounded-t-none shadow-xl shadow-black/10"> |
| 41 | <div className="flex justify-between gap-4"> |
| 42 | <div> |
| 43 | <div className="text-sm text-gray-400 font-bold uppercase pb-1"> |
| 44 | Amount paid |
| 45 | </div> |
| 46 | <div className="flex gap-4 items-center">${total}</div> |
| 47 | </div> |
| 48 | <div> |
| 49 | <div className="text-sm text-gray-400 font-bold uppercase pb-1"> |
| 50 | Date |
| 51 | </div> |
| 52 | <div className="flex gap-4 items-center"> |
| 53 | {new Date(date).toLocaleString()} |
| 54 | </div> |
| 55 | </div> |
| 56 | <div> |
| 57 | <div className="text-sm text-gray-400 font-bold uppercase pb-1"> |
| 58 | Payment method |
| 59 | </div> |
| 60 | <div className="flex gap-4 items-center font-mono"> |
| 61 | <svg |
| 62 | xmlns="http://www.w3.org/2000/svg" |
| 63 | width="1200" |
| 64 | height="800" |
| 65 | version="1.1" |
| 66 | viewBox="-96 -98.908 832 593.448" |
| 67 | className="h-4" |
| 68 | > |
| 69 | <path |
| 70 | fill="#ff5f00" |
| 71 | strokeWidth="5.494" |
| 72 | d="M224.833 42.298h190.416v311.005H224.833z" |
| 73 | display="inline" |
| 74 | ></path> |
| 75 | <path |
| 76 | fill="#eb001b" |
| 77 | strokeWidth="5.494" |
| 78 | d="M244.446 197.828a197.448 197.448 0 0175.54-155.475 197.777 197.777 0 100 311.004 197.448 197.448 0 01-75.54-155.53z" |
| 79 | ></path> |
| 80 | <path |
| 81 | fill="#f79e1b" |
| 82 | strokeWidth="5.494" |
| 83 | d="M640 197.828a197.777 197.777 0 01-320.015 155.474 197.777 197.777 0 000-311.004A197.777 197.777 0 01640 197.773z" |
| 84 | className="e" |
| 85 | ></path> |
| 86 | </svg> |
| 87 | 0911 |
| 88 | </div> |
| 89 | </div> |
| 90 | </div> |
| 91 | <h2 className="text-slate-600 font-bold text-sm py-6 pt-12 uppercase"> |
| 92 | Summary |
| 93 | </h2> |
| 94 | <div className="bg-slate-100 px-6 py-2 rounded-md"> |
| 95 | <table className="w-full"> |
| 96 | <tr className="border-b text-slate-500"> |
| 97 | <td className="py-4">Basic Pro Plan</td> |
| 98 | <td className="py-4">$12.99</td> |
| 99 | </tr> |
| 100 | <tr className="font-bold text-slate-700"> |
| 101 | <td className="py-4">Amount charged</td> |
| 102 | <td className="py-4">$12.99</td> |
| 103 | </tr> |
| 104 | </table> |
| 105 | </div> |
| 106 | <hr className="my-6" /> |
| 107 | This is some additional content to to inform you that Acme Inc. is a |
| 108 | fake company and this is a fake receipt. This is just a demo to show |
| 109 | you how you can create a beautiful receipt with Fileforge.{" "} |
| 110 | <Footnote> |
| 111 | Some additional conditions may apply. This template comes from the |
| 112 | react-print library, available at |
| 113 | https://docs.fileforge.com/getting-started/general/welcome |
| 114 | </Footnote> |
| 115 | </div> |
| 116 | </main> |
| 117 | </div> |
| 118 | </Tailwind> |
| 119 | ); |
Let’s also update our API route to pass the receipt data to the component:
| 1 | import { NextApiRequest, NextApiResponse } from "next"; |
| 2 | import { NextResponse } from "next/server"; |
| 3 | import { compile } from "@fileforge/react-print"; |
| 4 | import { Receipt } from "@/documents/Receipt"; |
| 5 | import { FileforgeClient } from "@fileforge/client"; |
| 6 | |
| 7 | const fileforge = new Fileforge({ |
| 8 | apiKey: process.env.FILEFORGE_API_KEY, |
| 9 | }); |
| 10 | |
| 11 | export const GET = async (req: NextApiRequest) => { |
| 12 | const receipt = { |
| 13 | id: 1, |
| 14 | date: "2021-01-01", |
| 15 | total: 100, |
| 16 | }; |
| 17 | |
| 18 | const { file, error } = await fileforge.pdf.generate( |
| 19 | await compile(Receipt(receipt)), |
| 20 | { |
| 21 | options: {}, |
| 22 | } |
| 23 | ); |
| 24 | |
| 25 | if (error) { |
| 26 | return NextResponse.json({ error }, { status: 500 }); |
| 27 | } |
| 28 | |
| 29 | const pdfBuffer = Buffer.from(file); |
| 30 | |
| 31 | // Return the PDF |
| 32 | return new Response(pdfBuffer, { |
| 33 | headers: { |
| 34 | "Content-Type": "application/pdf", |
| 35 | }, |
| 36 | }); |
| 37 | }; |
Let’s refresh our web browser and go to http://localhost:3000/api/receipt. You should now see a beautiful receipt!
Considerations and Best Practices
Data-Driven Documents
In this tutorial, we hardcoded the receipt data. In a real-world application, you would likely fetch the receipt data from an API or a database. This is very easy to do with your backend framework of choice, and you can pass the data to the React component as props.
Performance Considerations
Generating PDFs can be a CPU-intensive task, especially for complex documents. You should consider offloading the PDF generation to a separate service or a background job to avoid blocking the main thread. Fileforge provides a REST API that you can use to generate PDFs in the background.
Improving your Documents
Using React makes it super easy to update and extend your documents. You can have a look at other examples using the react-print-pdf library to see how you can create more complex documents, such as invoices, reports, or even entire books.
